
GSX1000 quickstart
From the case to your first scan in about ten minutes. Eight steps, in order.
Get your GroundScope account
Do this first, on any phone or computer. Scanning requires an active GroundScope plan, and the plan is tied to your account. There are two ways to get one:
- Through your company. Your IT department or GroundScope administrator adds you to the company team in the Portal and sends you an invite. Use the sign-in details they give you.
- On your own. Register at the GroundScope Portal.
- Enter your name, email, and a password. The password needs 12 or more characters with an uppercase letter, a lowercase letter, a number, and a symbol.
- Open the verification email and confirm your address.
- Optional: claim your unit with the code printed on the label on the radar head. Claiming links the unit to your company or account, so you can track it, register the warranty, and locate it if it is lost or stolen.
- Optional: in Settings → Team, set up your company and invite teammates.
What is in the cases
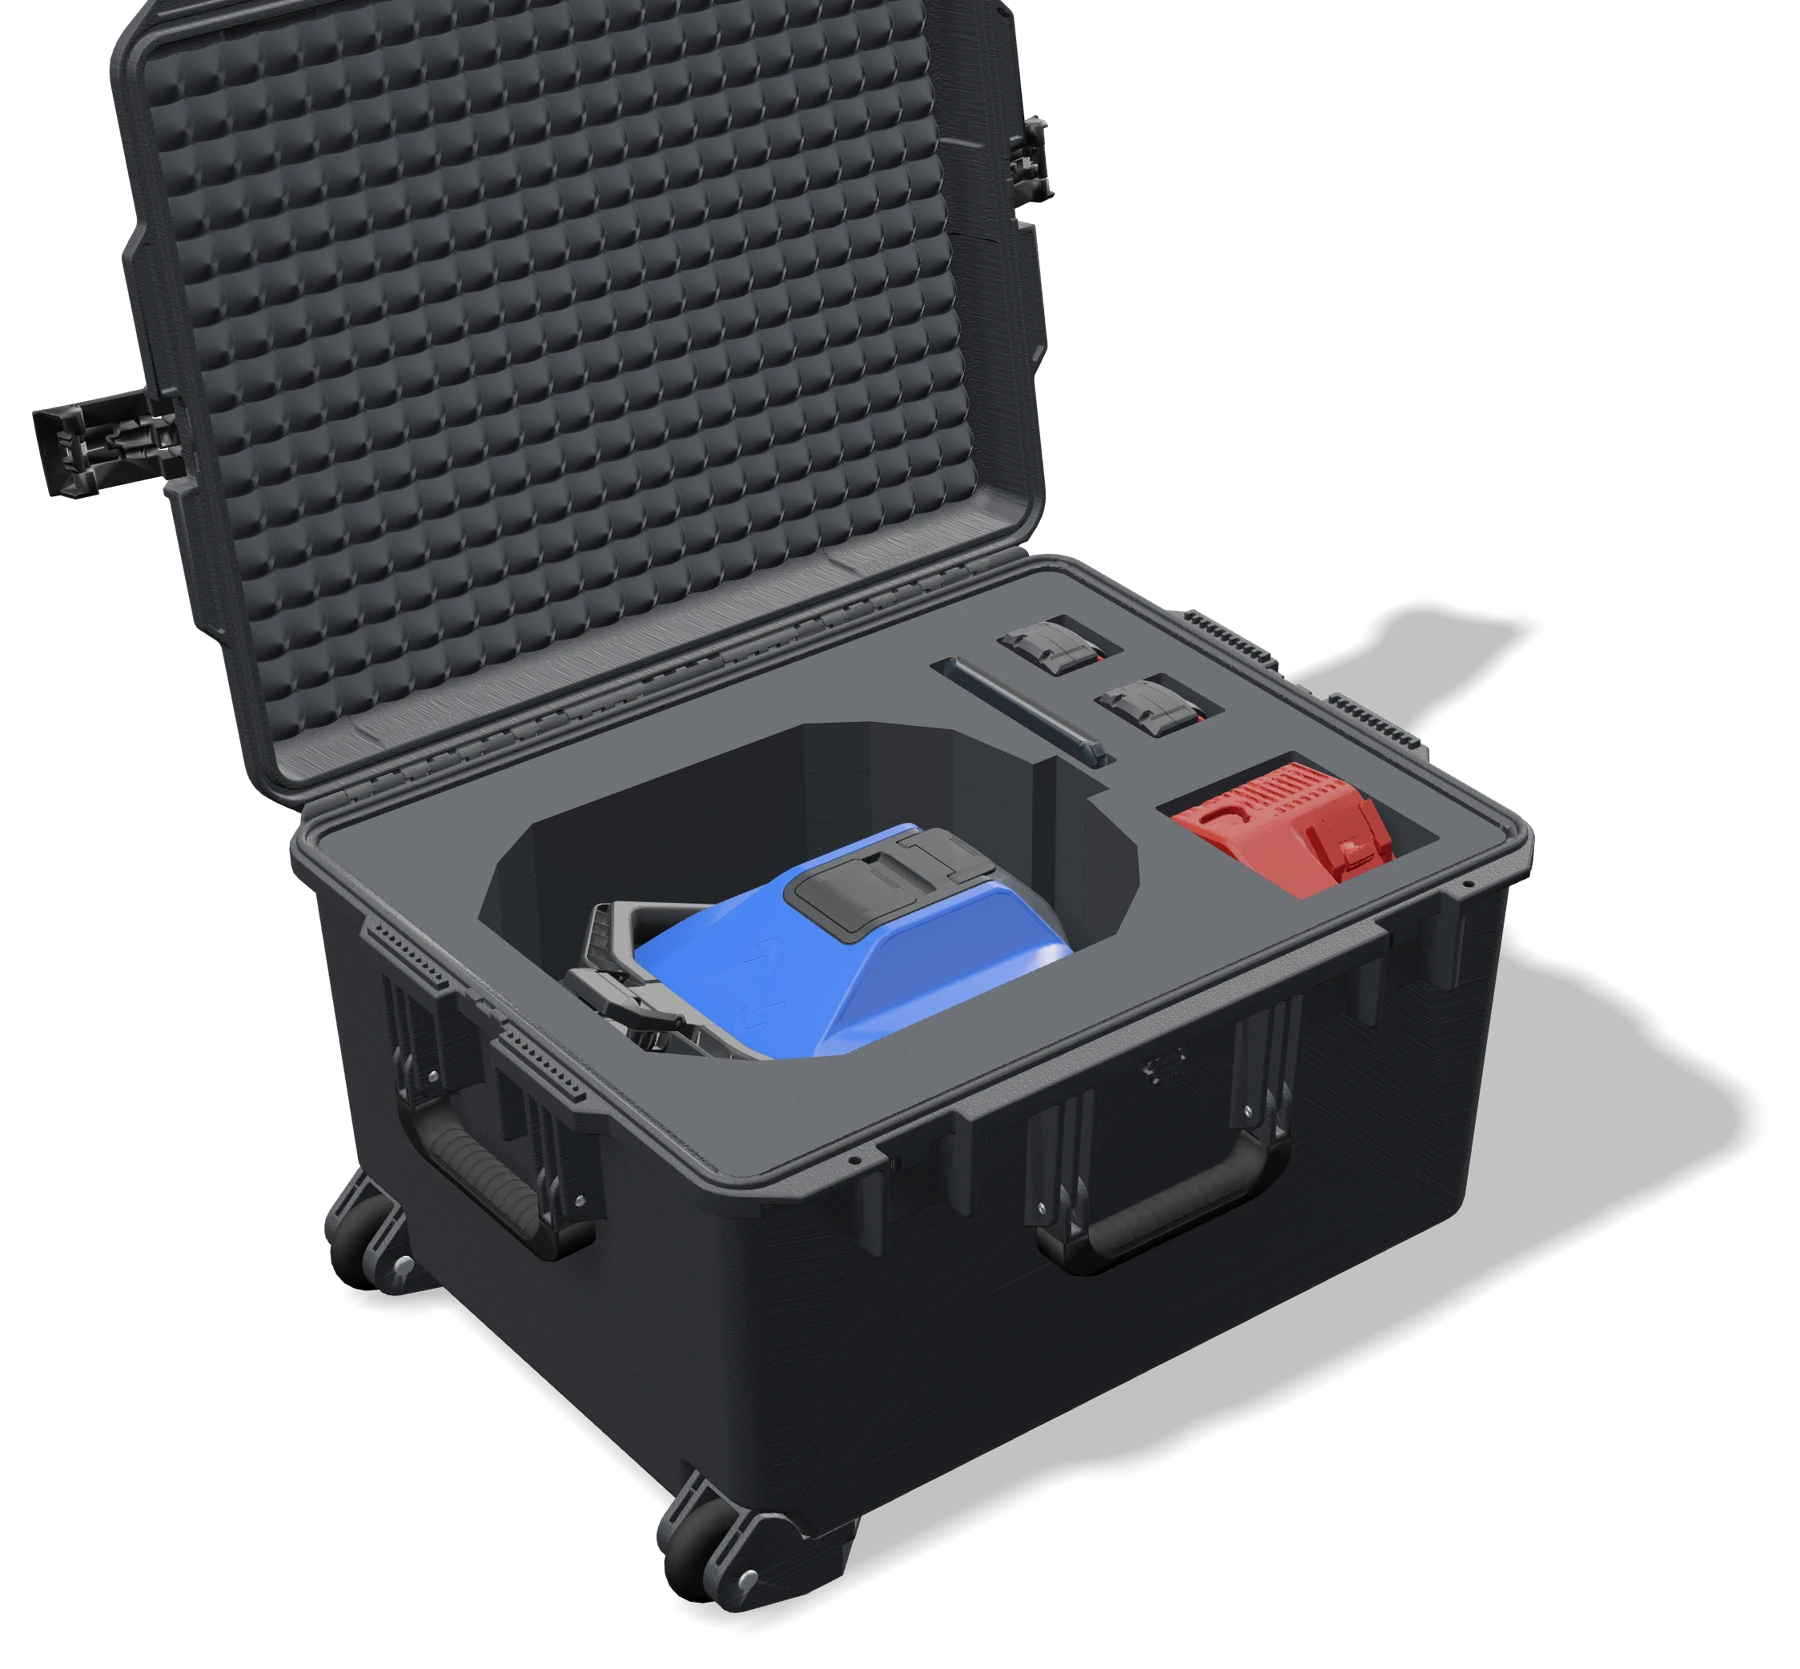
The unit ships in two cases: the wheeled hard case and a separate handle case.
- Radar head seated in its sled
- Command tablet (GroundScopeOS is already installed)
- Tablet charger
- Milwaukee M18 battery and charger
Handle case: the handle assembly with tablet mount, sun visor, kickstand, and coiled cable.
The label on the radar head shows the unit ID in the form GS-0000000. The same ID is stored inside the radar head, and the tablet shows it once connected. You use it if you claim the unit.
Assemble the unit
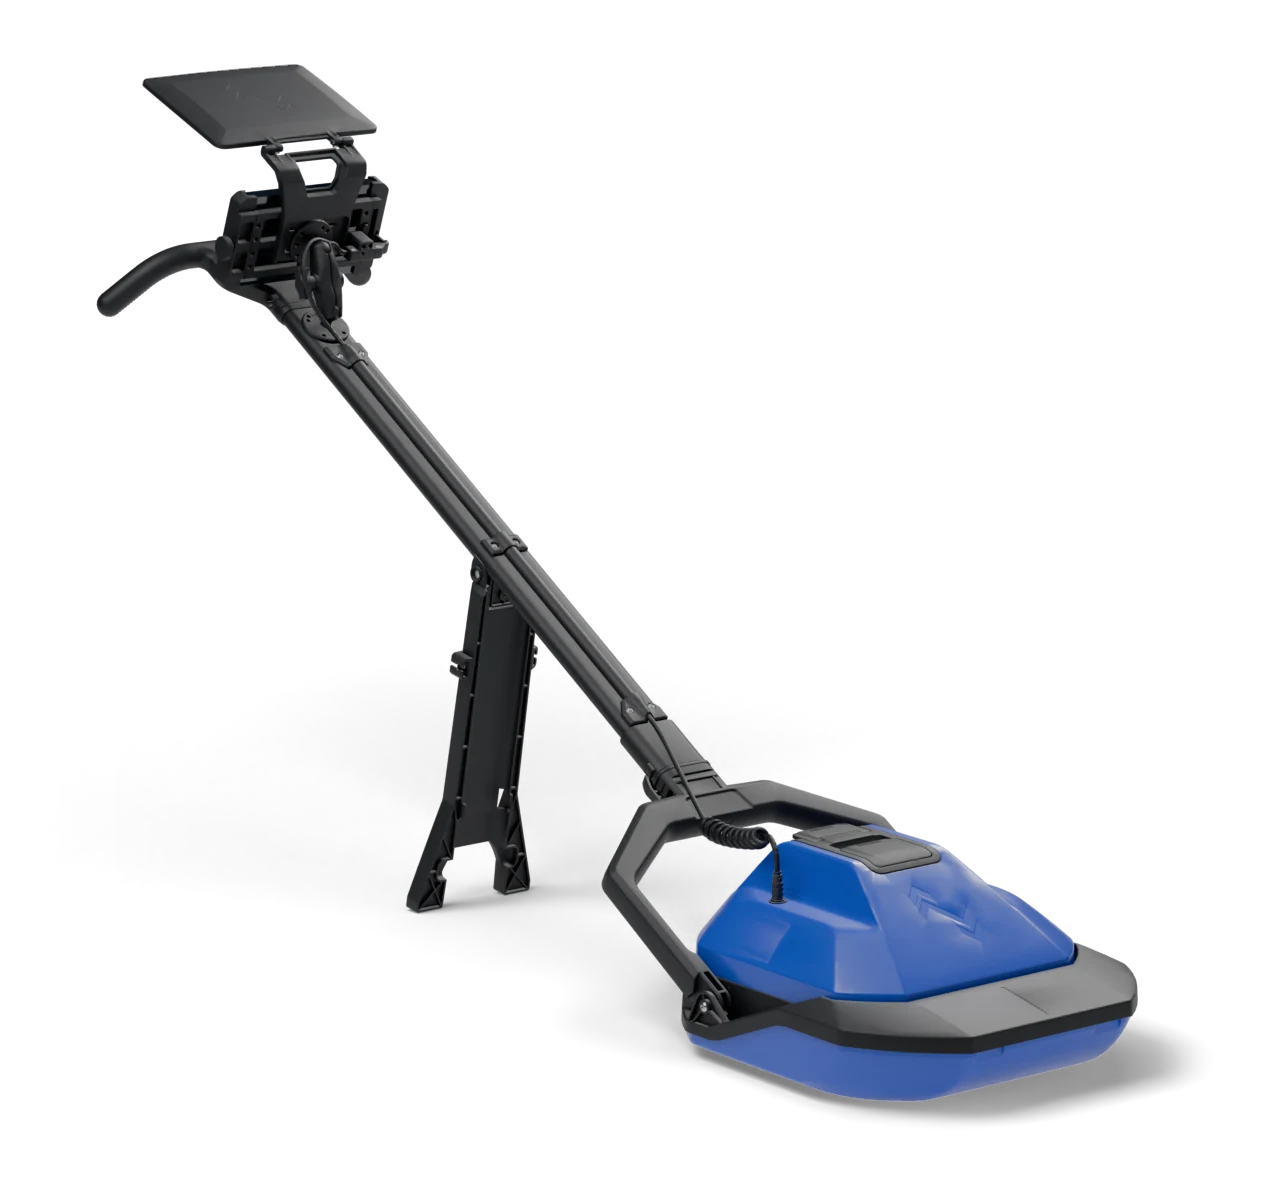
Two connections. Both are made by hand, with no tools.
- Set the sled on the ground with the radar head in it.
- Yoke. Line the handle connector up with the socket on the sled yoke and push it in until it seats.
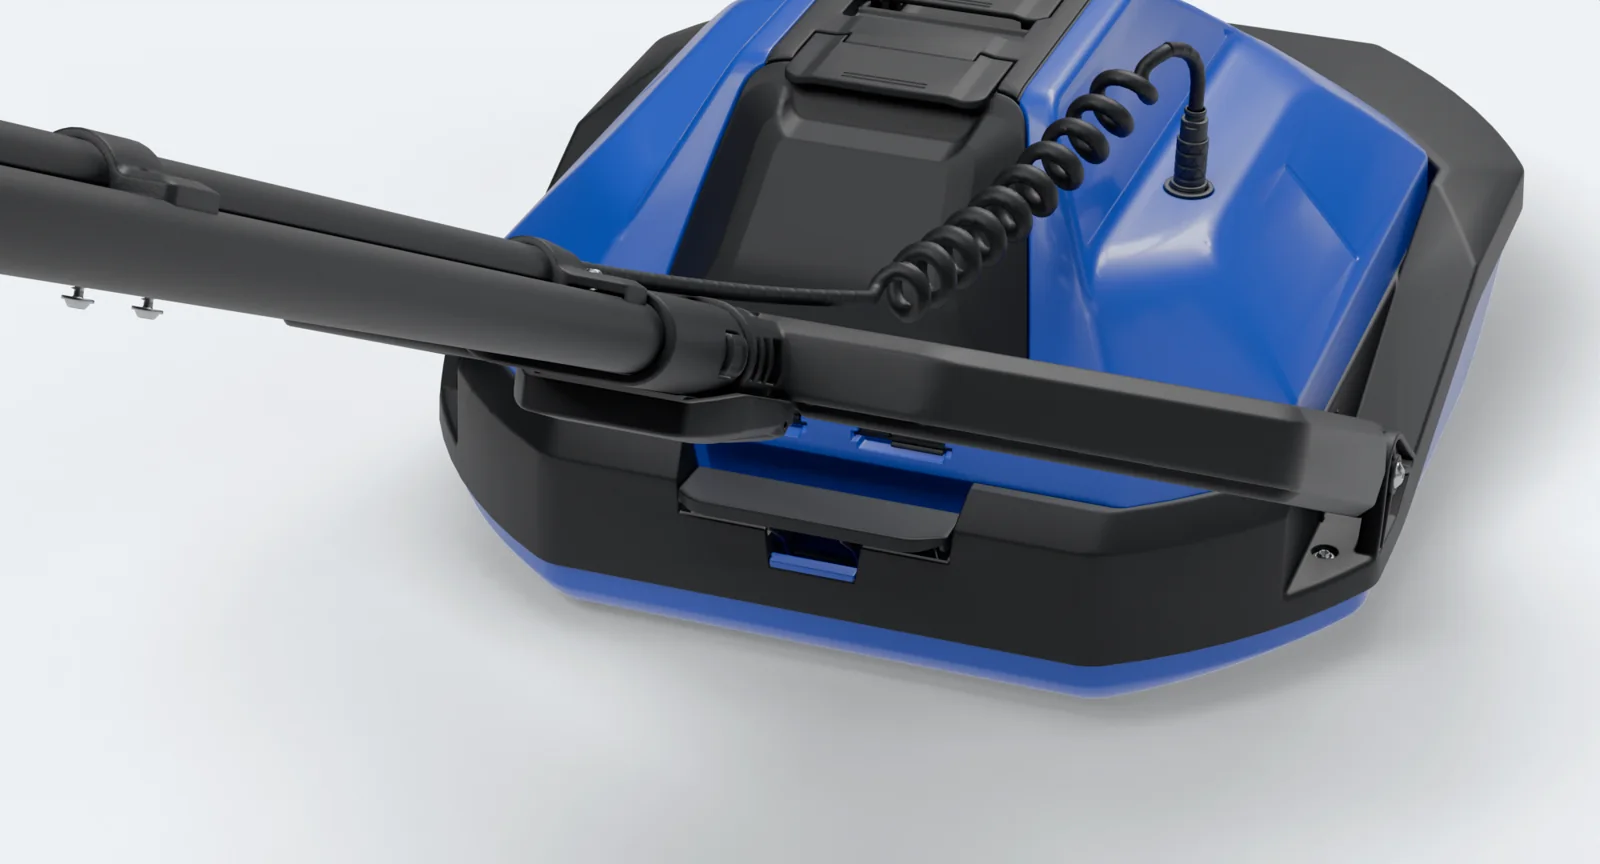
- Cable. Plug the coiled cord into the connector on top of the radar head and turn the collar until it is snug. This cable links the tablet to the radar head. There is no wireless pairing.
- Clip the tablet into the mount at the top of the handle.
- Fold the kickstand out when you want the unit to stand on its own between scans.
Breaking it down is the reverse, and takes about ten seconds.
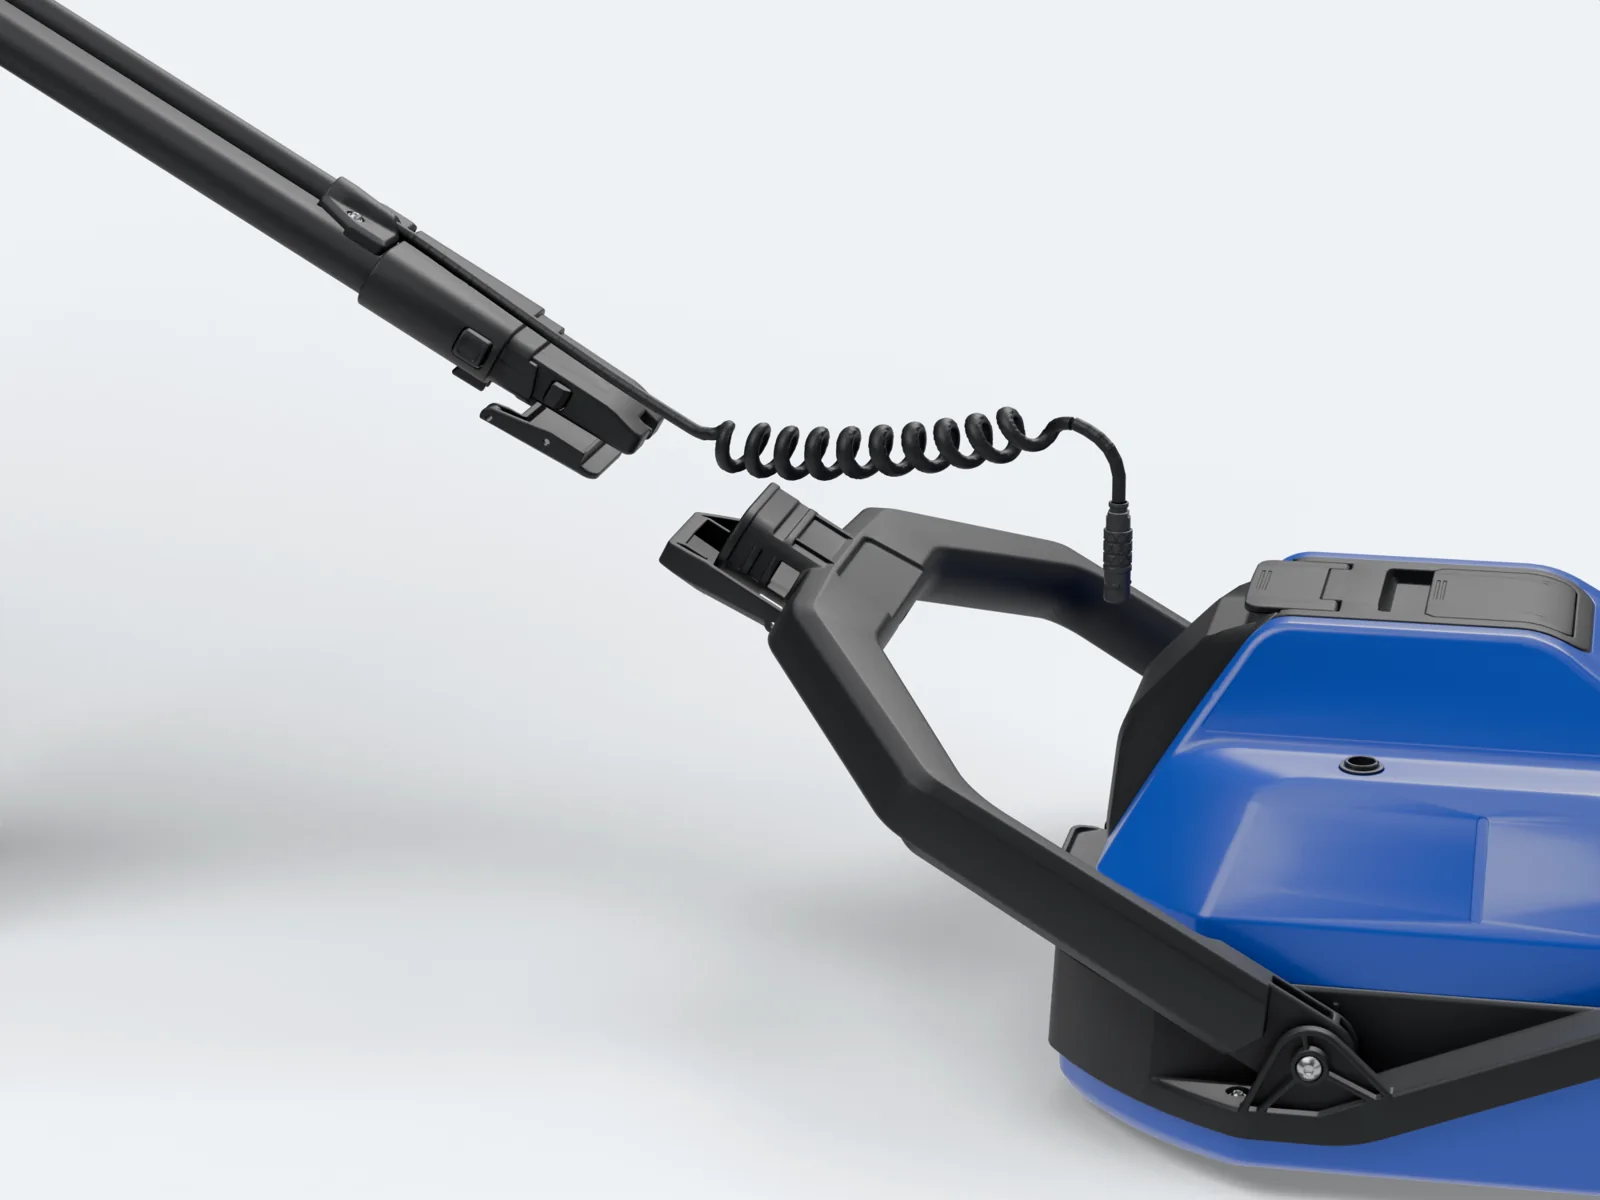 12
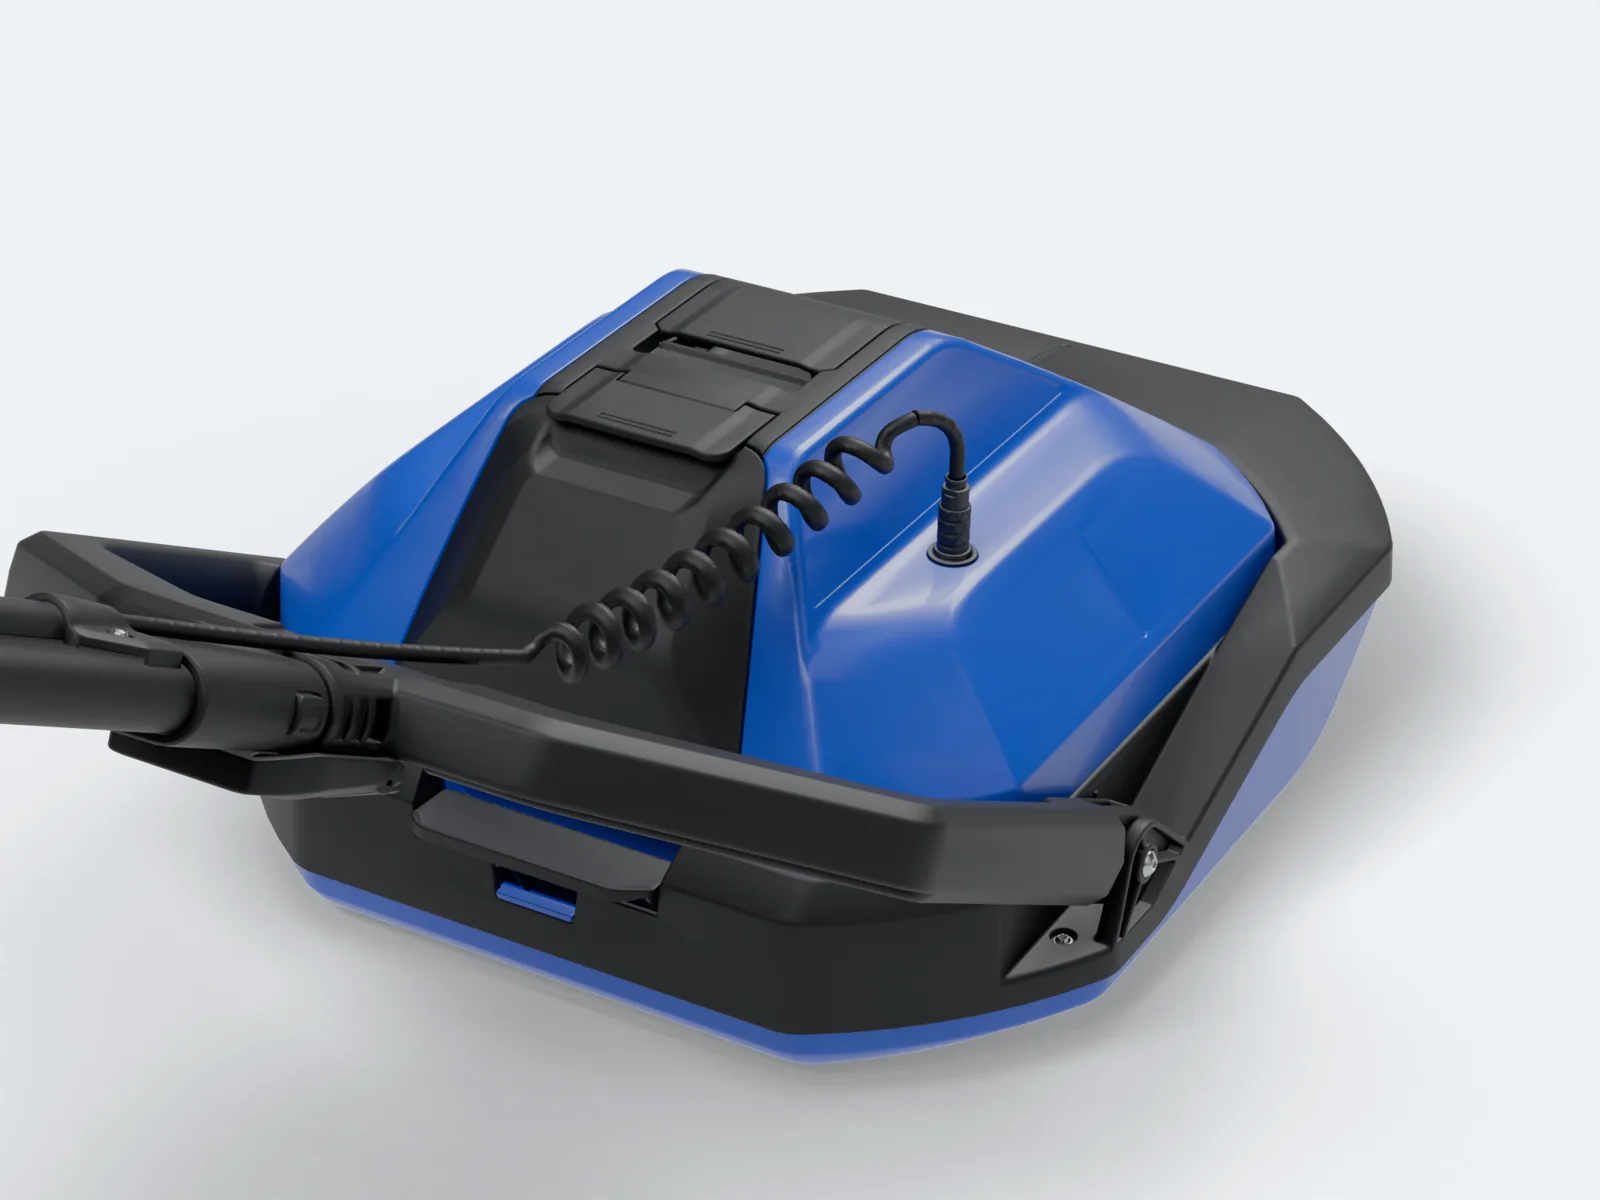 3
Install the battery
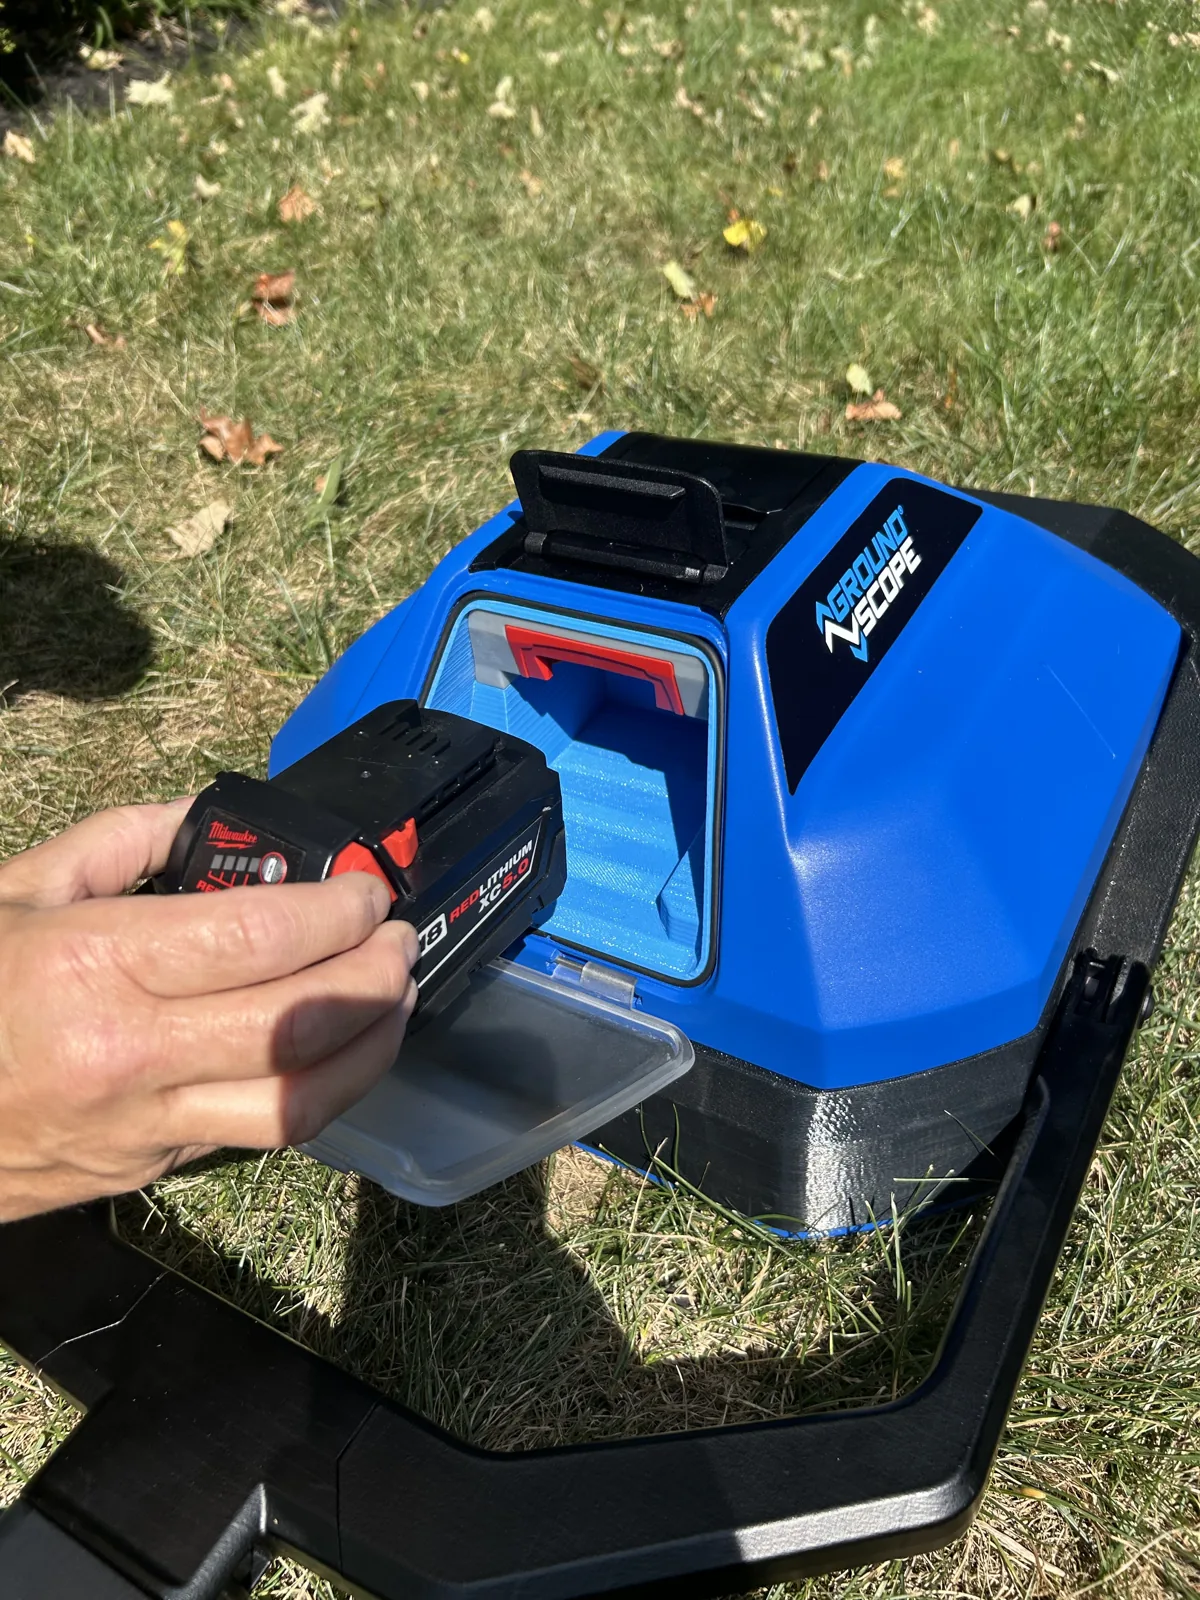
- Open the latched battery door on the radar head.
- Slide a charged M18 pack in until it clicks.
- Close and latch the door. The radar head starts on its own. Give it a minute before you sign in.
One M18 5.0 Ah pack runs the unit for about 15 hours of scanning. You can swap packs at any time. Charge with any standard M18 charger.
Power on the tablet. GroundScopeOS opens automatically.
Sign in on the tablet
- Sign in with the same email and password as your GroundScope account.
- Create a 4-digit PIN. From now on the tablet asks only for the PIN.
- The tablet connects to the radar head through the cable on its own. The unit ID stored in the radar head appears on the screen; check that it matches the label.
The status cards show Battery, Radar, and GPS. Wait until they all read as ready. GPS can take a minute or two the first time, and needs a view of the sky.
After the first sign-in the tablet works without an internet connection. Scans wait on the tablet and upload later.
Run your first scan
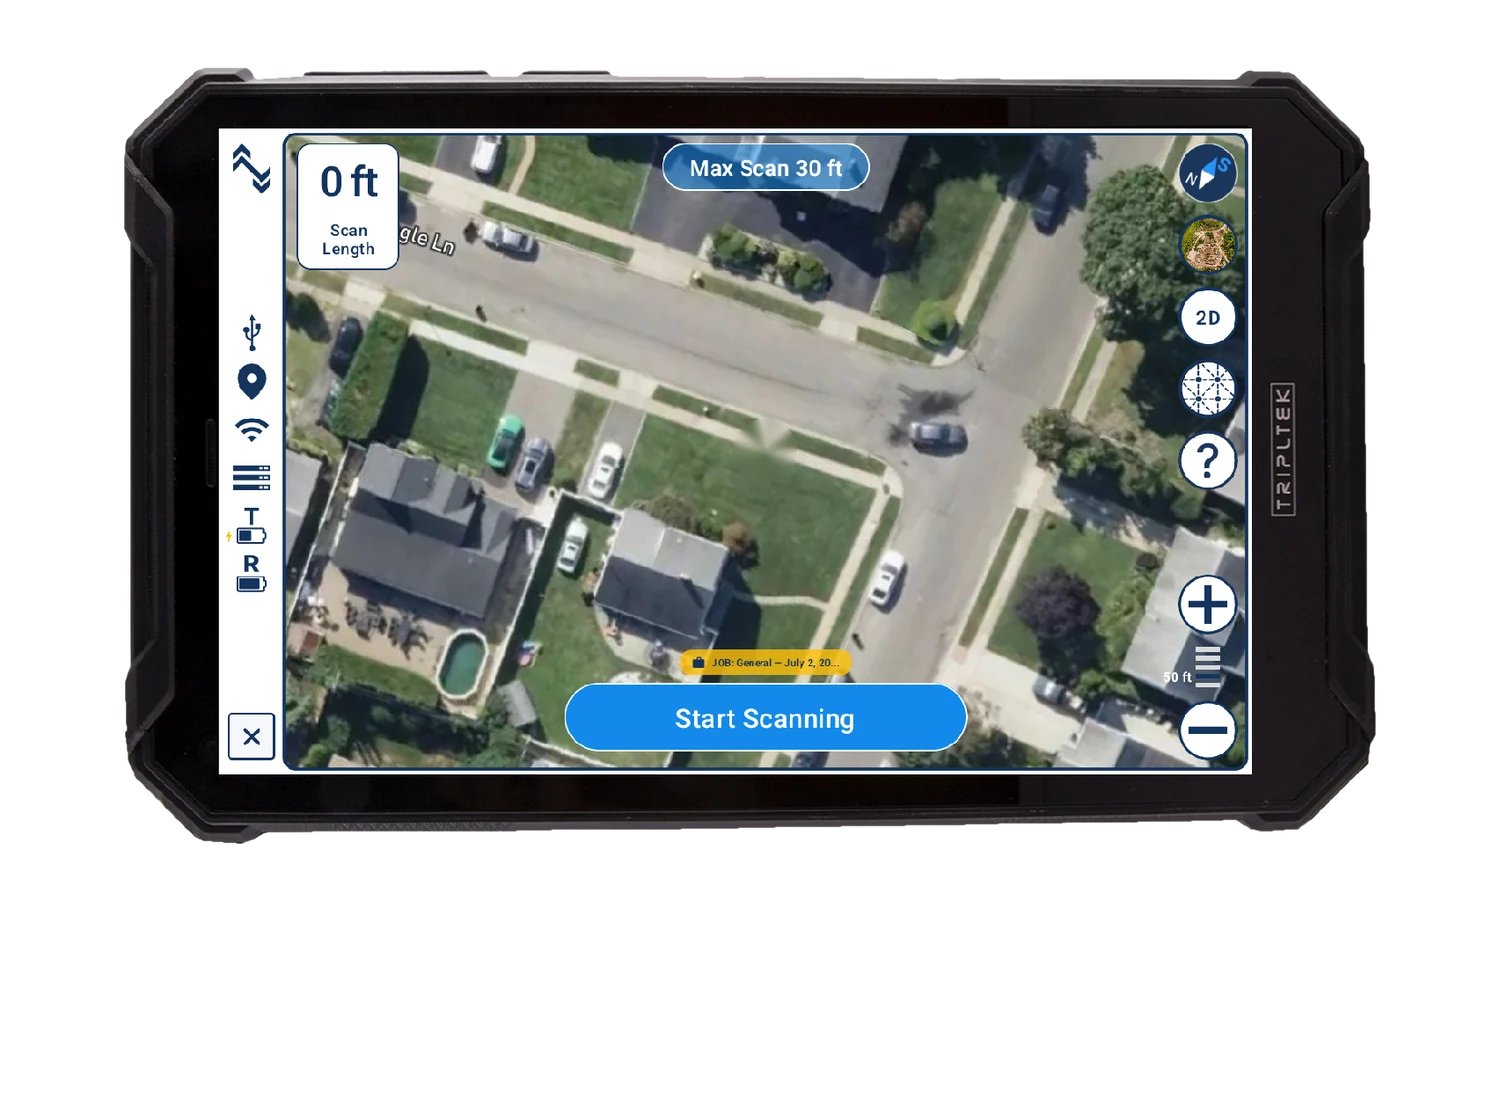
- Stand at one end of the line you want to check. Keep the sled flat on the ground.
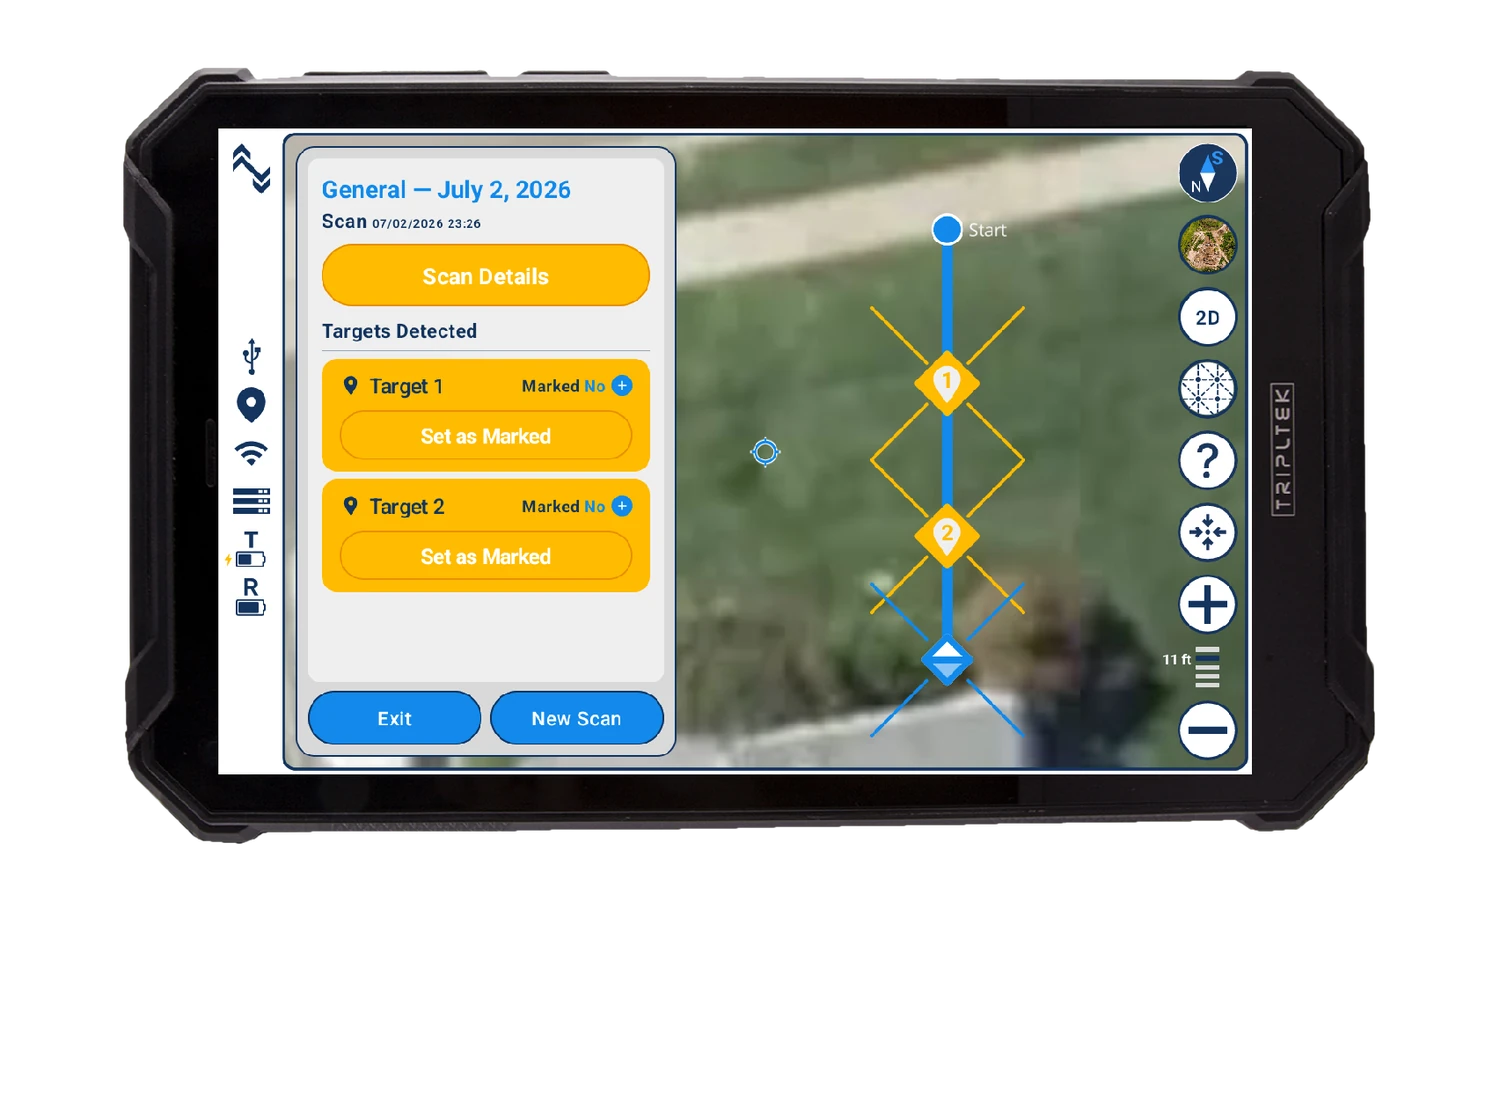
- Tap New Scan, then Start.
- Walk the line at about 1 foot per second. A 10 ft line takes about 10 seconds.
- Tap Stop at the end. Processing takes about 2 seconds per foot scanned.
- Targets appear on the map with their positions. Mark each one on the ground, then tap Done.
Use the standard utility marking colors when you paint or flag a target:
- Electric
- Gas, oil, steam
- Communications
- Water
- Sewer, drain
- Reclaimed water
- Temporary survey
- Proposed excavation
Trench mode: take the radar head out of the sled
Radar depth is set by the soil. Trench mode gets around that: scan the surface, dig what was cleared, set the radar head on the new floor, and scan again. The same unit works in trenches and auger holes 18 inches and wider.
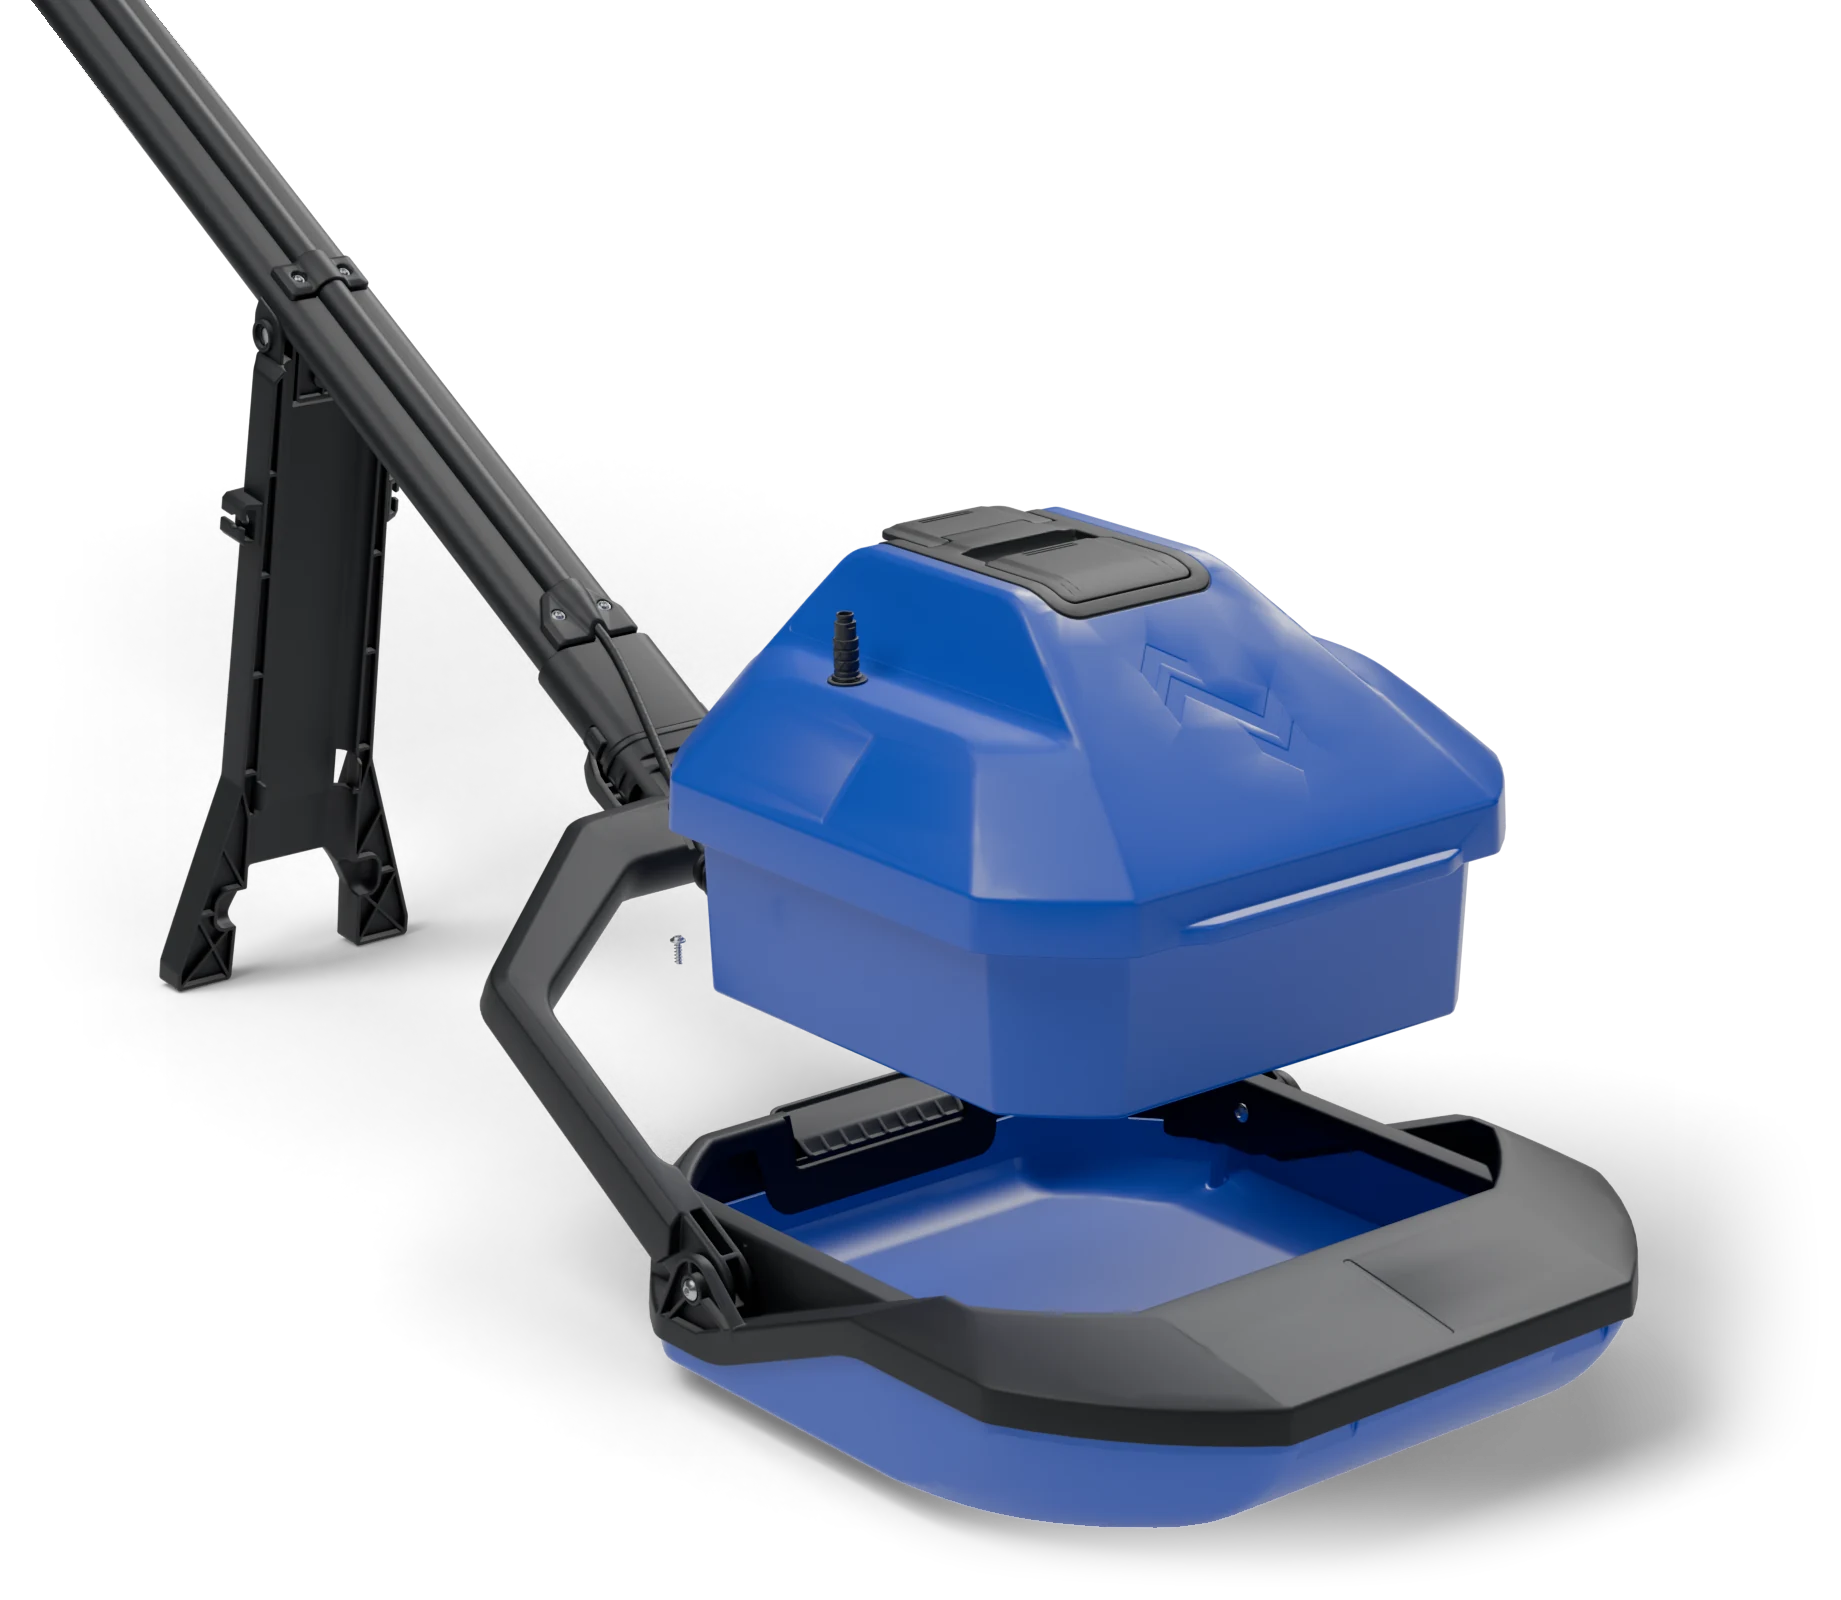
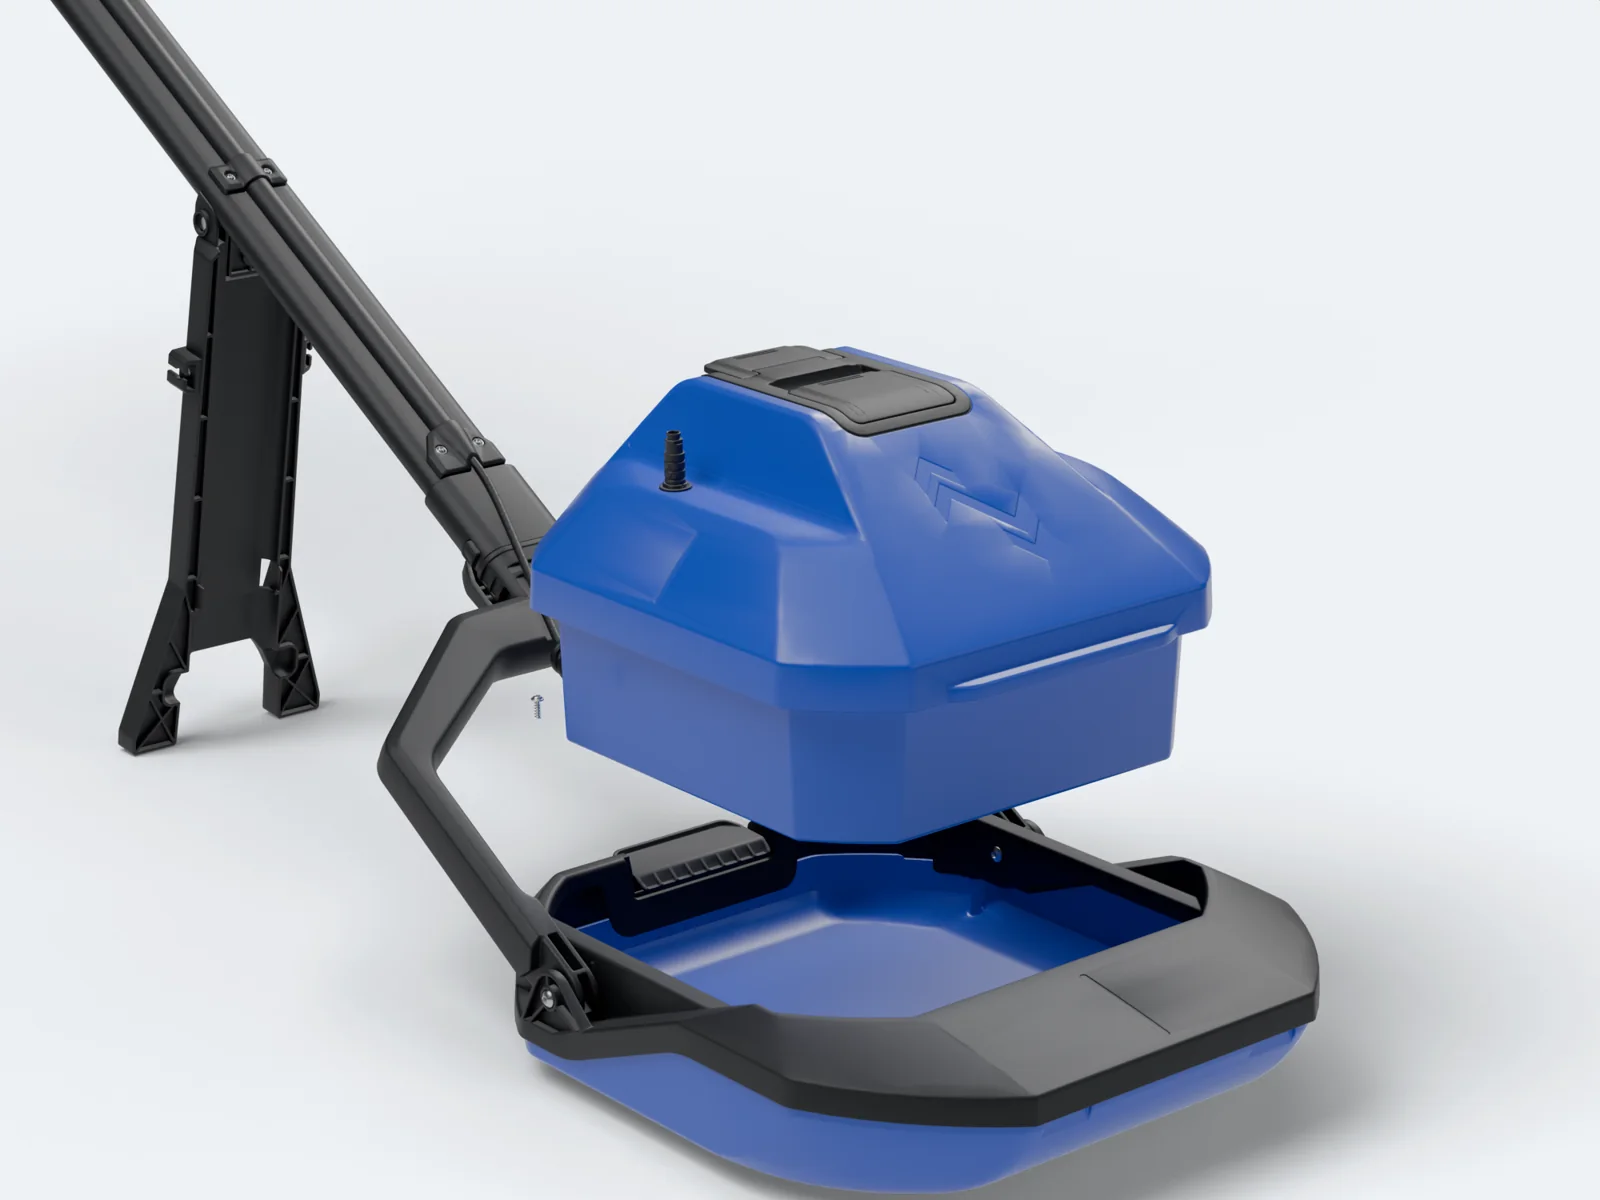
- Press the tab at the back of the sled to release the radar head.
- Lift the radar head straight up and out of the sled. The cable stays connected.
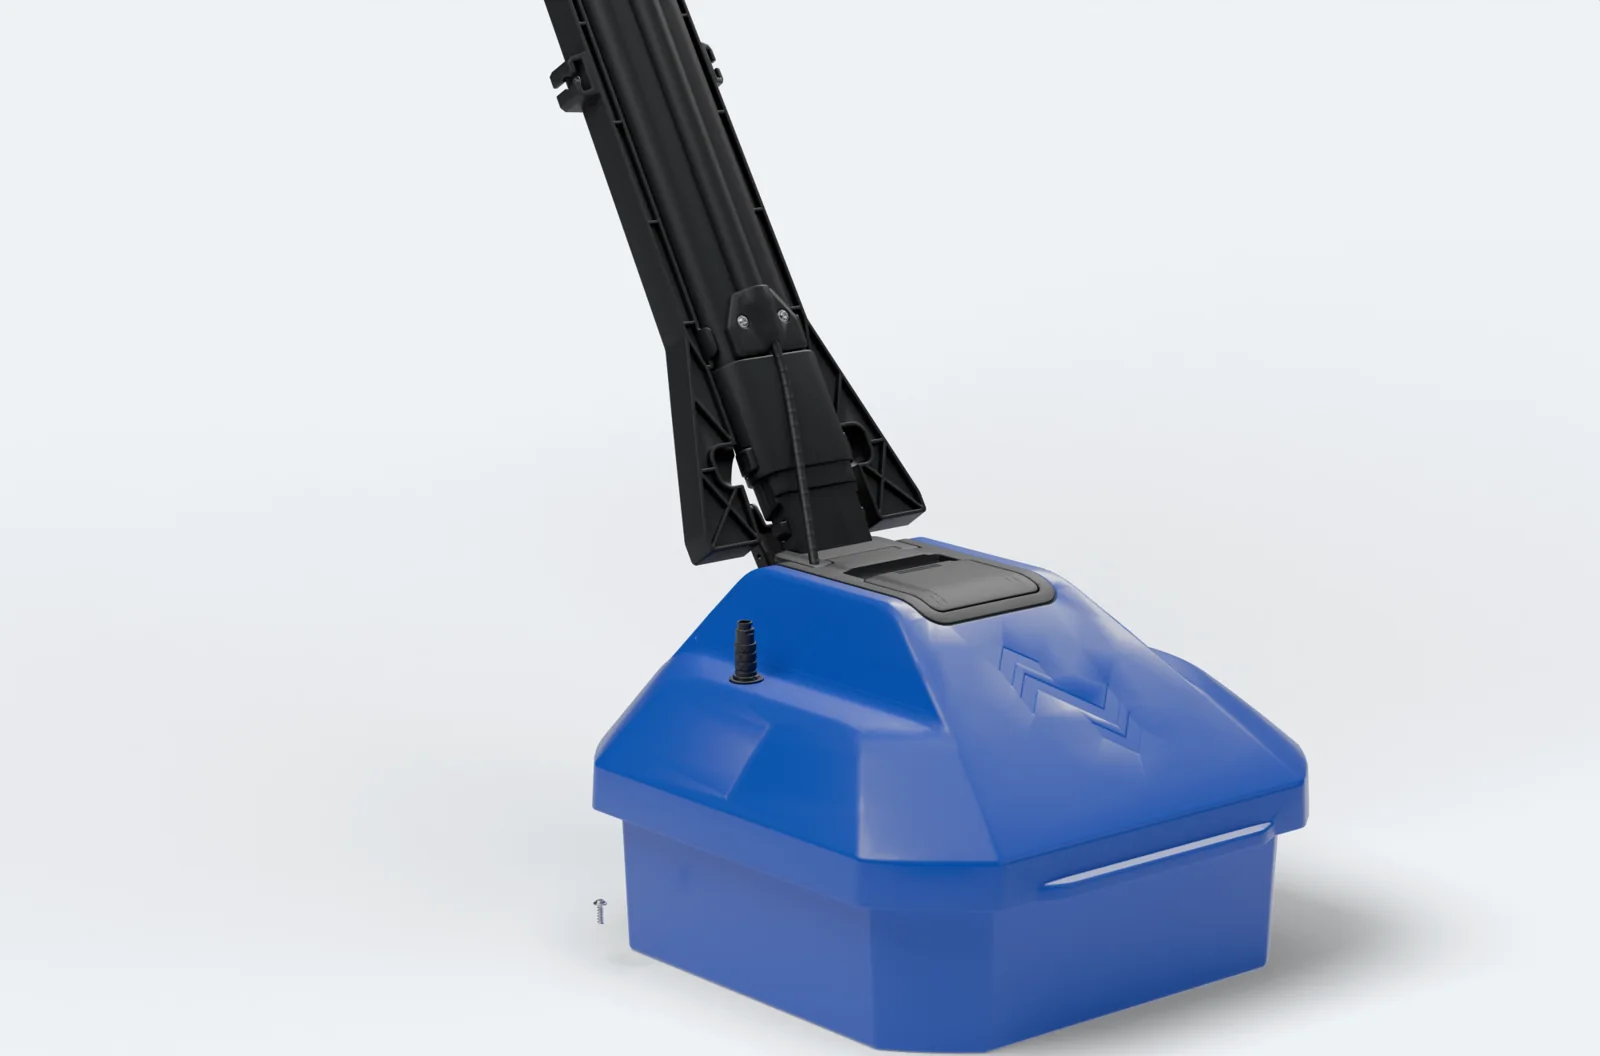
- Move the handle. Pull the handle connector out of the sled yoke and push it into the socket on top of the radar head until it seats.
- Lower the radar head into the trench or hole, keep it flat on the floor, and scan as usual.
To go back to the sled: pull the handle out of the top socket, set the head into the sled until the tab clicks, and plug the handle into the yoke.
 1
 2
 3
Your scans become records
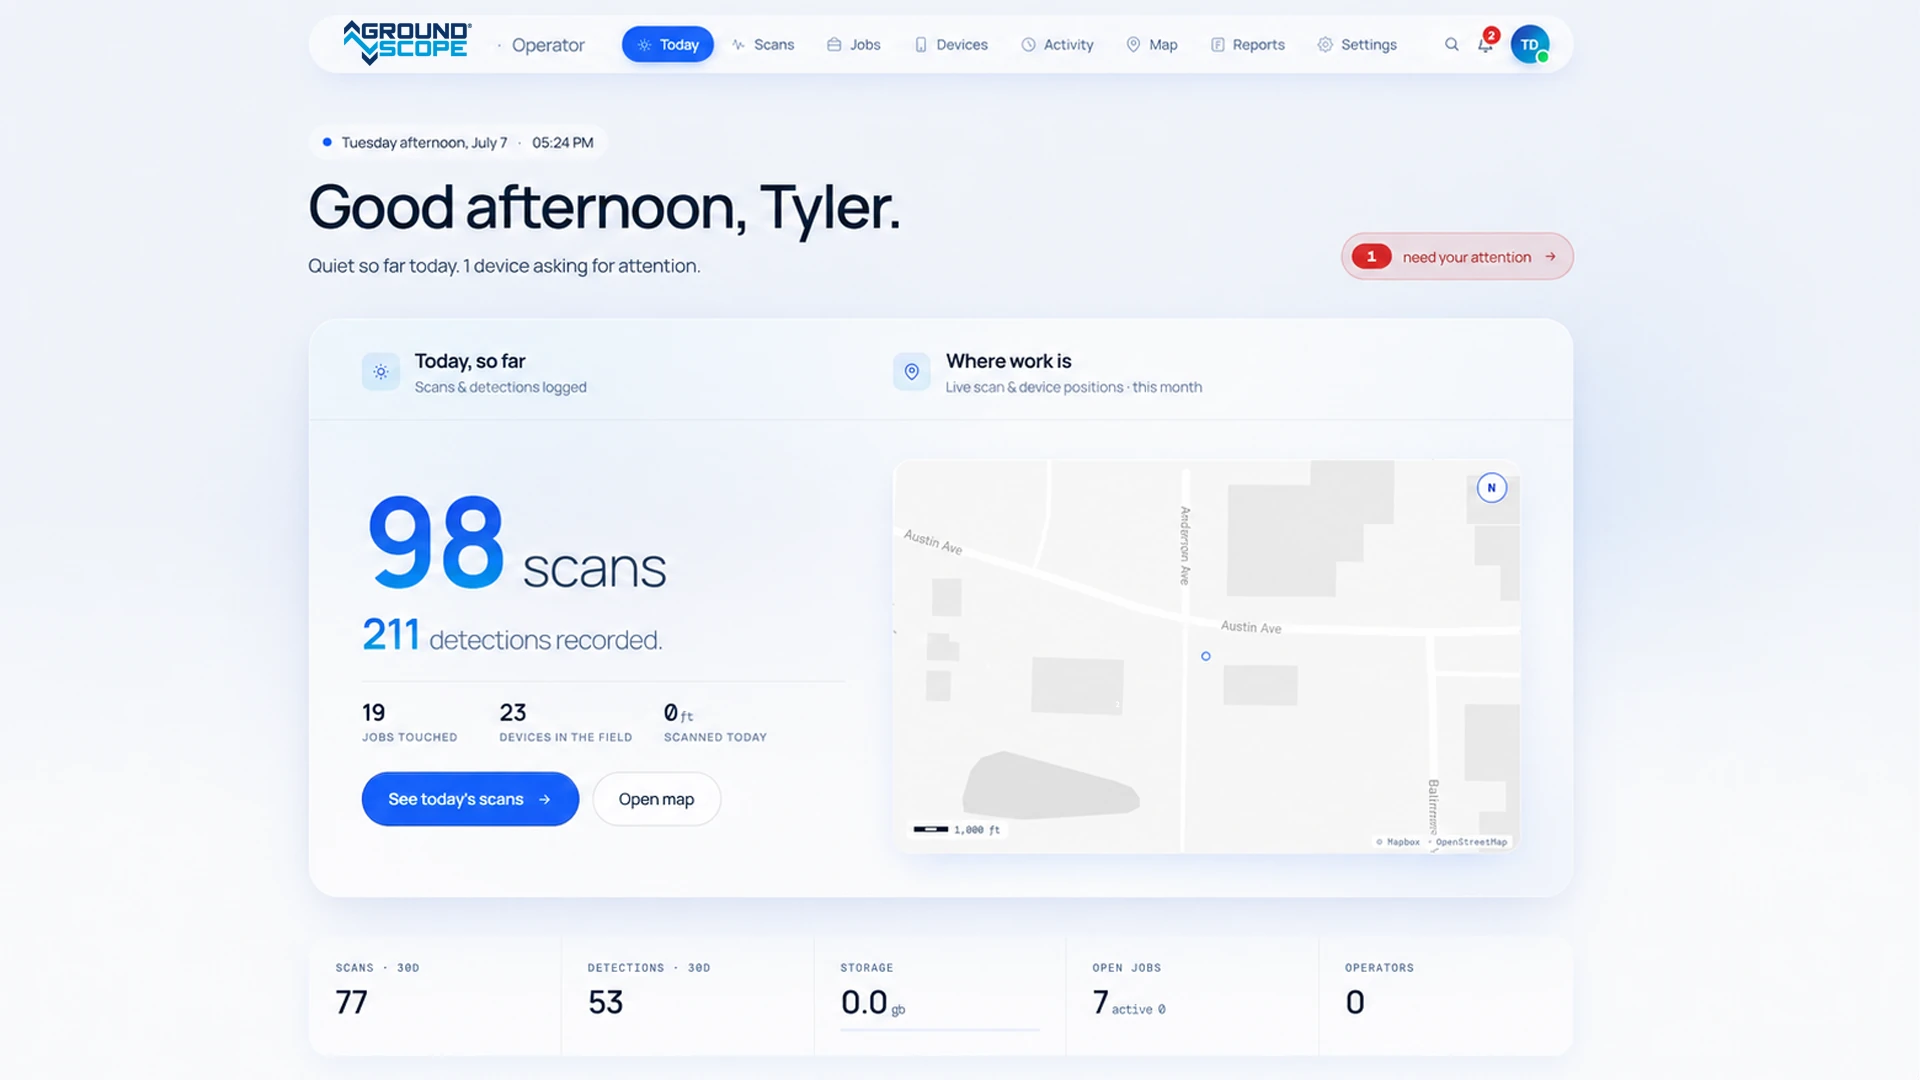
Every scan is saved on the tablet with its GPS line, time, operator, unit, and detections. When the unit has LTE, Wi-Fi, or Starlink, scans upload to the GroundScope Portal on their own.
Review, share, and export them at app.groundscope.com. Jobs, reporting, and CSV or GeoJSON export are part of the Pro plan.